How to clean laptop fan without opening is mostly about clearing airflow paths, loosening dust you can’t see, and not making things worse with moisture or excess pressure. If your laptop runs hot, ramps the fan nonstop, or throttles performance, you can often improve it with a few careful, external steps.
This topic matters because “just blow air into it” works sometimes, but it also can push dust deeper, overspin the fan, or blast debris into the heatsink fins where it’s harder to remove. The goal is controlled airflow and realistic expectations, not a miracle fix.

Below is a practical, no-disassembly approach, with quick checks to tell whether you’re dealing with simple dust buildup or a deeper cooling issue that needs service.
What causes laptop fans to get loud or ineffective
Most complaints come from one of these situations, and the “right” cleaning method depends on which one you have.
- Dust matting on intake/exhaust vents: common if you use the laptop on fabric or in a pet household, airflow drops and fan noise rises.
- Dust packed in the heatsink fins: air still moves, but heat can’t transfer well, so the fan stays aggressive under load.
- High background CPU/GPU use: the fan is doing its job, cleaning helps little if software keeps temps high.
- Aging thermal paste or failing fan bearing: noise becomes “grindy” or rattly, cleaning may not fix it.
According to Apple Support, keeping vents clear and using devices on hard, flat surfaces helps prevent overheating and airflow blockage, which is often the underlying trigger for constant fan ramping.
Quick self-check: is this dust, software, or hardware?
Before you start, take two minutes to identify what you’re actually solving, it saves time and reduces risk.
Signs it’s mostly dust/airflow
- Fan gets loud within minutes, even on light tasks
- Exhaust feels weak or unusually hot for what you’re doing
- You can see lint around vents or feel “fuzzy” edges near intake grills
Signs it’s mostly software/load
- Fan ramps only during specific apps, browser tabs, or video calls
- Task Manager shows sustained high CPU usage at idle
- Temps drop quickly after closing one process
Signs you may need service
- Rattling, clicking, or scraping sound from the fan area
- Sudden shutdowns, battery swelling signs, or burning smell
- Temperatures spike fast and stay high even after cleaning attempts
Tools and prep (safe, realistic)
You don’t need a teardown kit, but you do need the right “no-open” tools so you don’t swap dust for damage.
- Compressed air (short bursts), or an electric air duster on low
- Soft anti-static brush for vent grills
- Small vacuum with brush attachment (used carefully, not pressed to the vent)
- Flashlight to inspect vents
- Microfiber cloth for exterior wipe-down
Avoid: hair dryers (heat + static), wet wipes near vents, and full-power shop vac suction at the vent opening.
Step-by-step: cleaning without opening the laptop
This sequence aims to pull and push dust in a controlled way. If you only do one thing, do the first two steps well.
1) Power down and set the laptop up correctly
- Shut down completely, unplug the charger, disconnect peripherals.
- Let it cool for 10–15 minutes if it’s hot to the touch.
- Position it so dust can exit: usually on its side with the exhaust facing away from you.
If your model has bottom intake vents and side exhaust, angle it so gravity helps dust fall out rather than settle deeper.
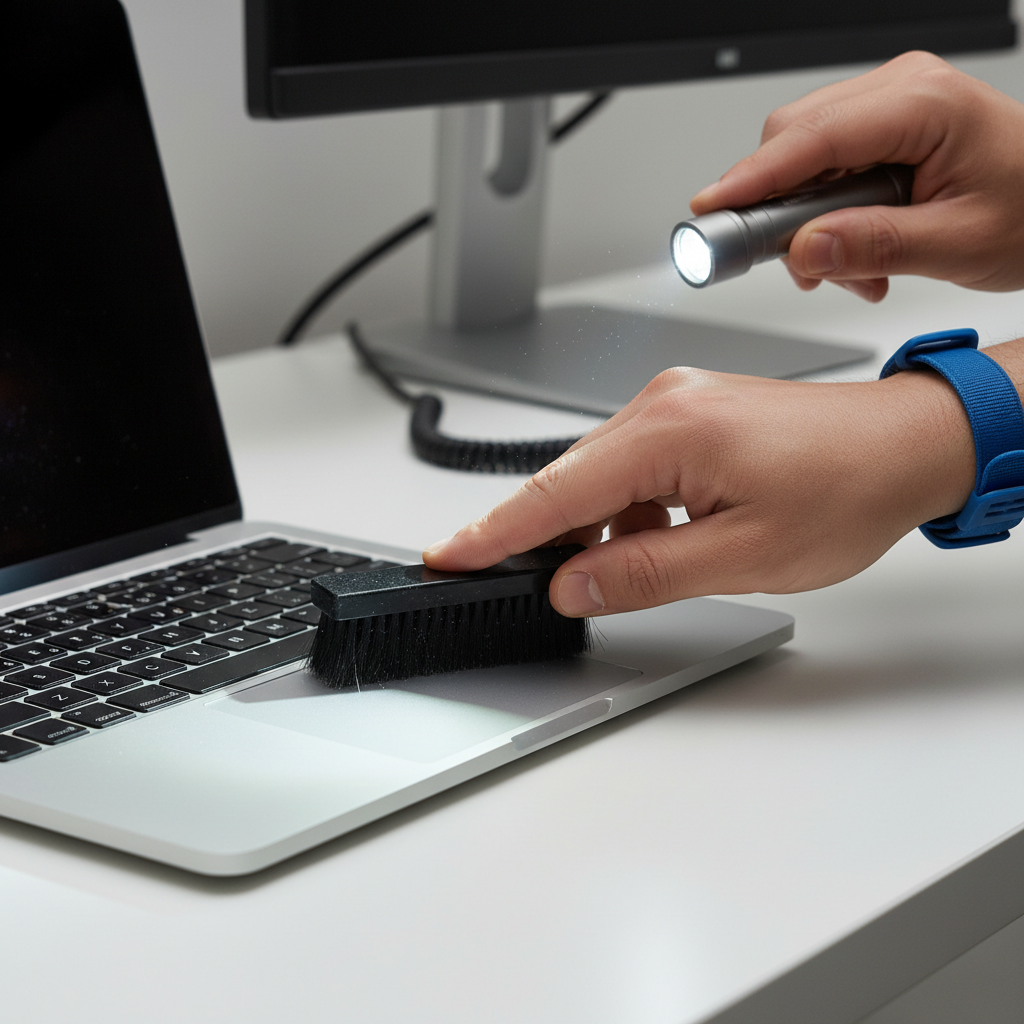
2) Brush the vent grills first (dry only)
This looks minor, but it prevents you from blasting a “felt ring” of dust inward. Lightly brush intake and exhaust grills, then wipe the exterior with a microfiber cloth.
3) Use compressed air in short, angled bursts
- Hold the can upright, use short bursts instead of a long spray.
- Keep the nozzle a few inches away, don’t seal it against the vent.
- Spray at an angle across the vent, not straight in.
- Work in cycles: 3–5 bursts, pause, reposition, repeat.
If you hear the fan “whine up” sharply, reduce pressure and change angle. Overspin risk varies by design, but in many cases, gentler airflow causes fewer problems than a direct blast.
4) Pair air with light vacuuming (optional, but effective)
A small vacuum can help catch what you loosen, but treat it like a dust collector, not a power tool.
- Use a brush attachment and keep it slightly off the vent surface.
- Alternate: 1–2 air bursts, then vacuum pass, then repeat.
- Don’t drag hard plastic nozzles across the case, especially near port edges.
5) Clean your “usage surface” too
Many people clean the laptop and put it back on the same dusty blanket or crumb-filled couch. If you use a lap desk or cooling pad, wipe it down and clear its mesh.
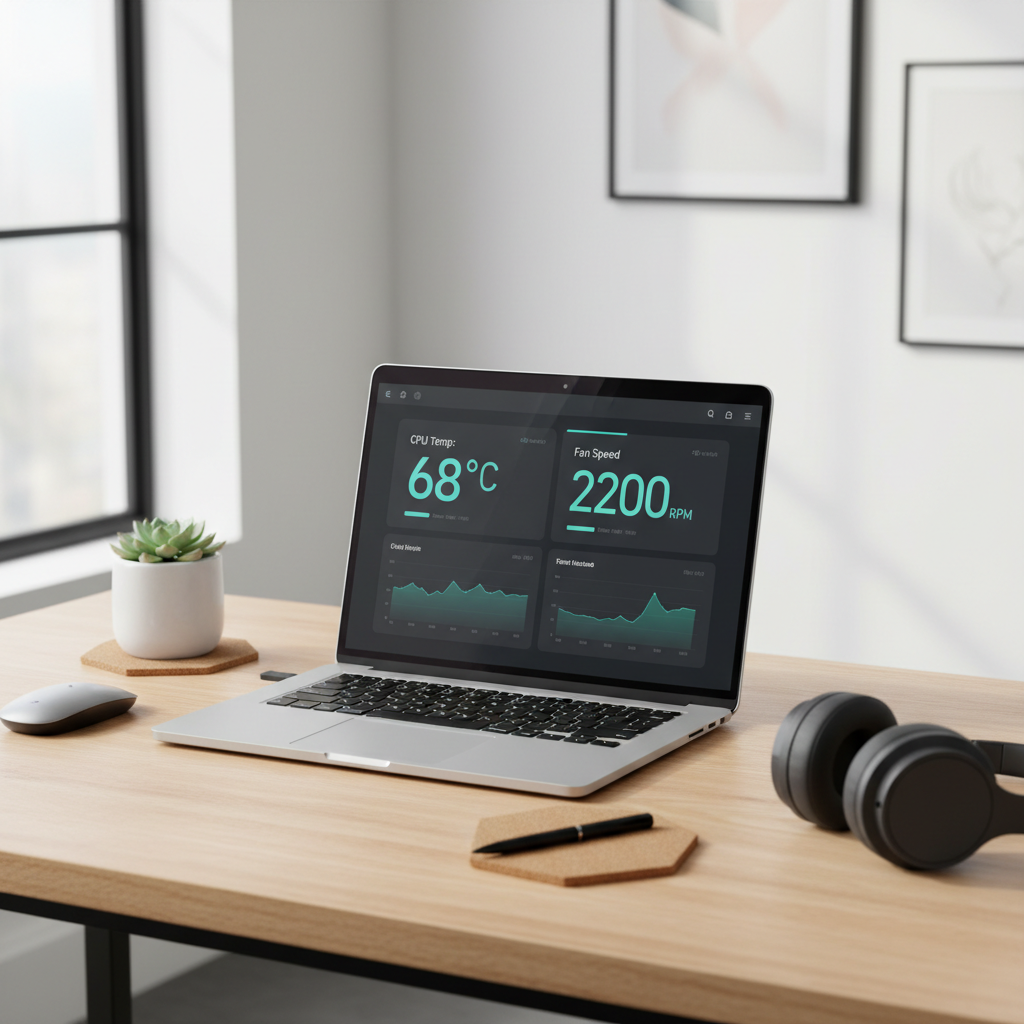
Software steps that reduce fan noise (without pretending it’s cleaning)
Even if you nailed the dust removal, you still want to confirm the system isn’t creating unnecessary heat.
- Check background load: On Windows, open Task Manager and look for high CPU at idle. On macOS, use Activity Monitor.
- Update OS and drivers: firmware and graphics driver updates can improve fan curves and power behavior.
- Browser hygiene: too many tabs, heavy extensions, or a runaway page can keep CPU elevated.
- Power mode: balanced/optimized modes often cut fan spikes during light work.
According to Microsoft Support, Task Manager can help identify apps using excessive CPU resources, which is a common reason fans stay loud even after airflow improves.
What to expect: results, limits, and a simple comparison table
How to clean laptop fan without opening can meaningfully improve airflow, but it won’t fix dried thermal paste or a worn fan. This table helps set expectations.
| Method (no opening) | Best for | Typical outcome | Main risk if done wrong |
|---|---|---|---|
| Brush + microfiber | Visible lint at vents | Small but immediate airflow improvement | Pushing debris into grill if too aggressive |
| Compressed air (short bursts) | Dust near vents, light heatsink buildup | Often reduces noise under light/medium load | Overspinning fan, pushing dust deeper |
| Air + gentle vacuum capture | Heavier dust in vents | Better debris removal than air alone | Scratching case, static concerns if careless |
| Software load reduction | High CPU at idle or specific apps | Fan ramps less, temps stabilize | Missing underlying hardware cooling issue |
Common mistakes that waste time (or cause damage)
- Blasting air straight into the vent for 10 seconds: it can compact dust deeper into fins.
- Using liquids near vents: moisture can migrate inside, even “barely damp” cloths can be risky around openings.
- Ignoring the intake side: cleaning only the exhaust often leaves the real blockage untouched.
- Cleaning while powered on: fans may spin unexpectedly, and it’s easier to short something with debris or moisture.
- Expecting silent operation under heavy load: gaming, rendering, and video calls can legitimately drive fans.
If you’re trying to quiet coil whine (a high-pitched electrical sound), cleaning won’t help much, that’s a different issue than airflow.
When “without opening” isn’t enough
There’s a point where external cleaning hits a wall. If any of these are true, consider a repair shop or the manufacturer service channel.
- Temperatures remain high and performance throttles quickly after cleaning attempts
- Fan noise changes character from airflow to mechanical grinding
- You see bulging near the trackpad/palm rest, which can indicate battery swelling
- The laptop shuts down under light tasks, or the chassis gets unusually hot in one spot
According to iFixit, many laptops require internal access to fully remove dust from heatsink fins and to replace worn thermal paste, and in those cases a trained technician may be the safer route if you’re not comfortable with disassembly.
Practical “do this next” checklist
- Today: brush vents, short angled air bursts, then confirm idle CPU usage looks normal.
- This week: clean your lap desk/cooling pad, update OS and graphics drivers.
- This month: if noise and temps persist, get an internal clean and thermal service quote.
Key takeaway: how to clean laptop fan without opening works best when you treat it as airflow restoration, not a full cooling system rebuild.
Conclusion: quieter fans come from better airflow and smarter load
If your laptop has gotten louder over time, start with vent cleaning and controlled air bursts, then look at background CPU/GPU use so you’re not fighting a software problem with a can of air. If symptoms persist or sound turns mechanical, that’s usually your cue to stop poking and get professional help rather than forcing another round of “no-open” cleaning.
If you want one simple action today, clean the intake vents carefully and check for a high-CPU background task, those two steps solve a surprising share of real-world fan complaints.